 on the ILT
menu to expand it.
on the ILT
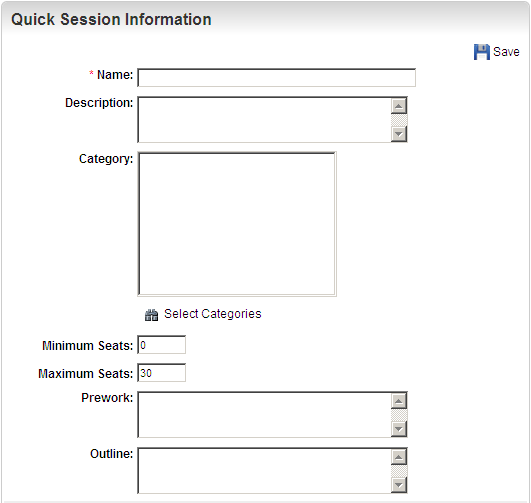
menu to expand it.You can add new ILT Quick Sessions. A Quick Session is an ILT Session that does not need to be associated with an Event or Track. Think of Quick Sessions as one-time meetings that need to be tracked. On the ControlPanel:
on the ILT
menu to expand it.

|
When you add an Enrollment and this maximum seat number is reached, no more students will be allowed to enroll in the class. |

|
|
The following Time Zone rules apply for ILT sessions:
The Time Zone priority accessed through the ControlPanel is as follows:
|


|
See Variable Display of ILT Enrollment Information to Users for additional information about these fields. |

Copyright © 2010-2018, Oracle and/or its affiliates. All rights reserved.
 Related Topics